Saturday, March 15, 2014

Creative Cutters - Baby Buggies


 Even if you only have some basic cutters you can make this adorable baby buggy cookie.  It's absolutely perfect for a baby shower!

1) First make my recipe for Favorite Sugar Cookies, and then get out a large oval, a small circle, and square cutter.  If you don't have a square cutter you use a knife.  For each buggy cut one oval and two circles.

2) Use the small circle cutter to cut out places on the oval for the wheels.  Use the square cutter to remove a little less than a quarter of the oval.

3) Now add the wheels.

4) Lightly tap the line where the wheels attach to the buggy.

5) Bake as usual.  Be sure to let them cool completely before moving to the rack.

6) Decorate with Royal Icing.  I will be adding pictures of the finished, decorated, cookies if I don't eat them first.

Creative Cutters - Globe


Adapted from SemiSweetDesigns.  

Lately I've been fascinated with the idea of piecing together cookie cutters that I already have to make brand new designs and this is a great example.  This cookie could be decorated to look like a globe, a snow globe, or even a gum ball machine. 

1) You will need a round cutter and a margarita cutter.  If you don't have a margarita cutter you can use the top of an ice cream sundae cutter. When you cut the margarita shape, do it at the edge of the rolled out dough or just cut off the part you don't need.  The dough should be cold when you assemble your globe.

2) Cut a notch in the circle piece with a small knife.  It should be about the same size as the top of the other piece.

 3) Fit the pieces together.  Pat them a little so that there is contact.  If it is not a good fit, soften some dough in your hands and fill in any cracks.  The whole thing will be covered with icing so it doesn't matter if the line shows.

4) Bake as usual.  Be sure to wait until they are completely cool before moving to the rack.  I will post pictures of decorated ones soon.


Sunday, March 9, 2014

Making Royal Icing


This process can become time consuming so it is best to have everything you need in place and allow plenty of time for the process.  I think you will find that it is more fun if you are not rushed.  Plan what colors you will need for the cookies you are making, or for a cookie decorating party, make a variety of colors.  Please note that this icing should be used the same day you make it as it separates overnight.

Ingredients

1/4 cup water
1 tsp almond extract
4 cups powdered sugar (about 1lb)
2 tablespoons Wilton Colorflow Mix (mix thoroughly in the powdered sugar before adding liquids or you will have lumps!)

This recipe is taken adapted from the insert in the Wilton Colorflow Mix can.  It makes about 2 cups of icing.  Plan on using about 1 cup per color on average.  Half will be piping consistency and half will be flooding consistency.

Equipment

Stand mixer
Piping bags (2 for each color)
Color gels
Couplers (2 for each color)
Tips (Wilton size 3 is best, but size 2 or 4 will work)
Elastic bands (2 for each color)
Tooth Picks

Instructions

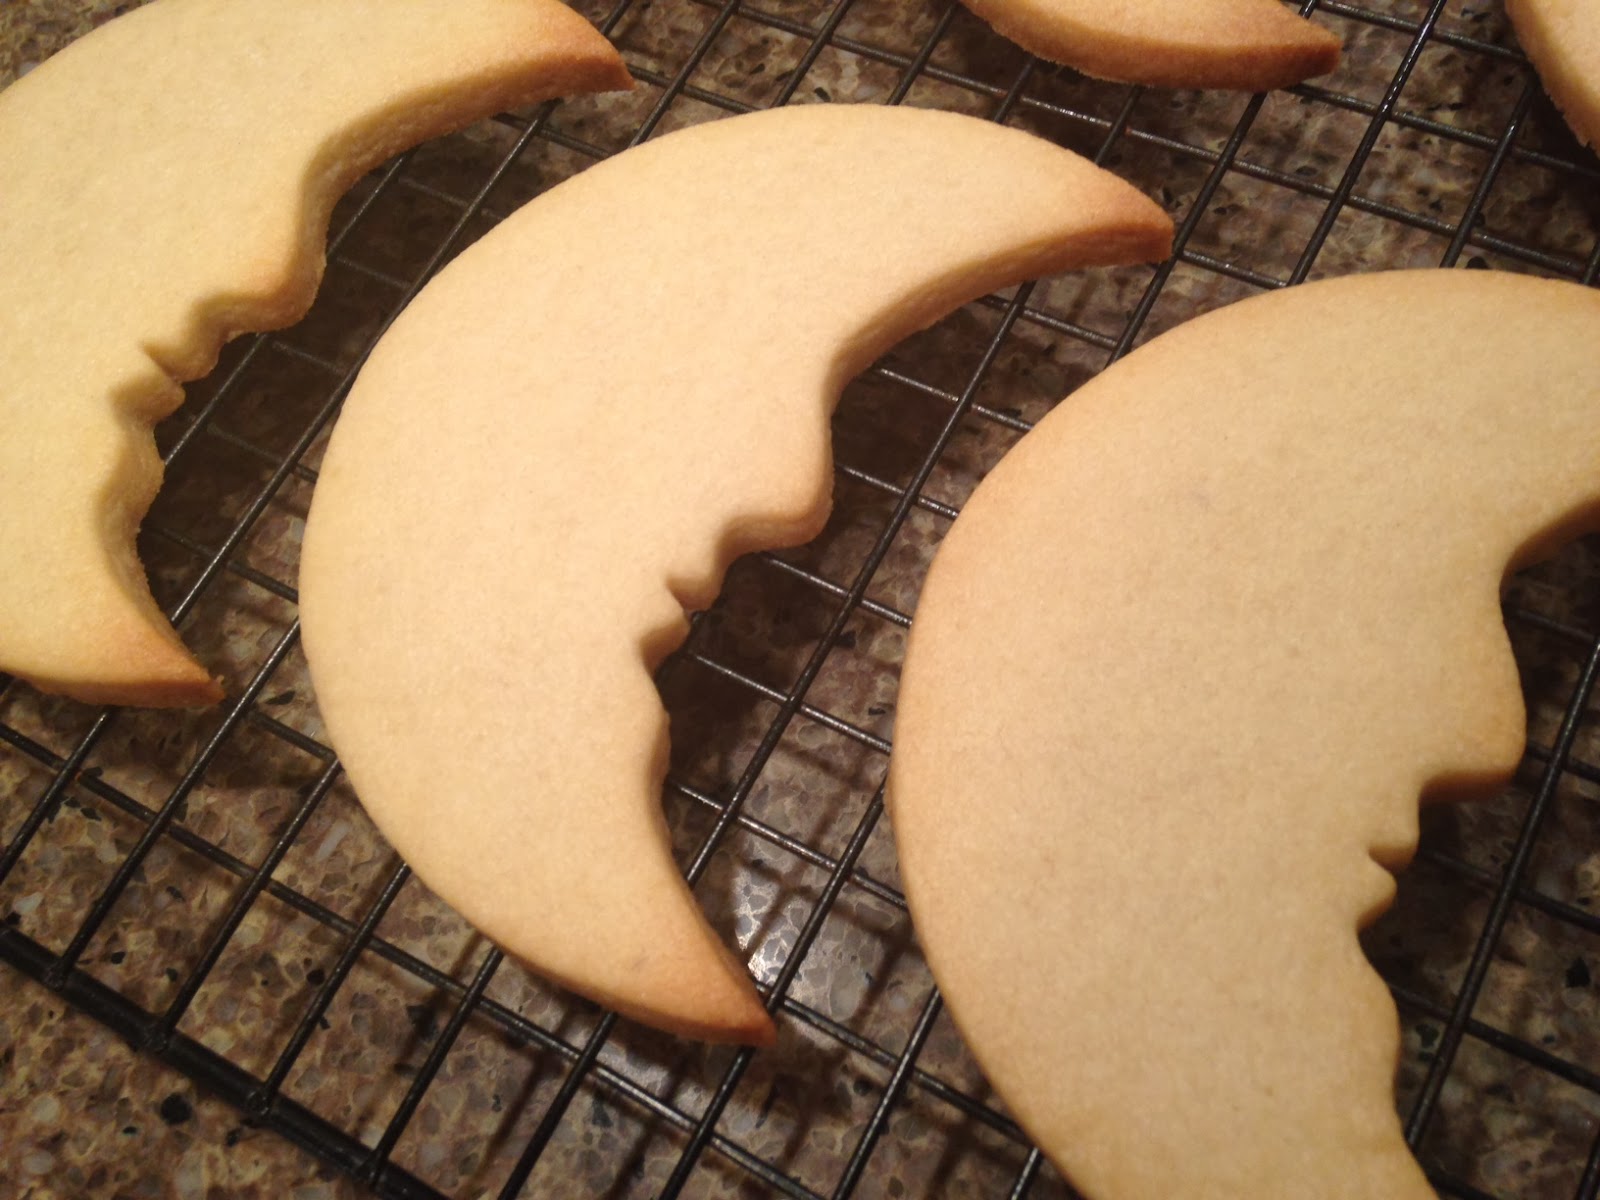
1) Gather what you will need.  (The picture below shows red plastic mixing cups but I ended up finding a better way to mix colors so you won't need them.)


2) Prepare your piping bags and get one ready to be filled by placing it in a tall cup.


3) Mix Cororflow and powdered sugar together first or you will have lumps.  Combine powdered sugar mixture, extracts, and slowly add the water into the mixer and mix on low for 5 minutes.  Royal icing crusts very quickly so cover the mixer with a damp dish towel while mixing.  Be careful not to cover any vents on the mixer.  A standard KitchenAid mixer is large enough to quadruple the recipe, but not more.  The consistency should be stiff, but not so stiff that you would have trouble squeezing it through a piping bag.  So you may need to add a very small amount of water at this point.  I usually don't add any extra water and use this thickness for piping.


4) Measure out 1 cup of icing.  This type of measuring cup is easy to work with because you can level it off and know exactly how much you have.  While you're working with this small amount, keep the rest of it covered with the damp cloth in the mixer.


 5) Use a small spatula to transfer the icing to a 2 cup measuring cup.

6) Add a small amount of color gel with a tooth pick.  Use a fresh toothpick each time because you don't want to get any icing in the color gel and ruin it.  Add more color or blend colors until you have the shade that you want.  Colors will intensify.  For red you will need a lot of color gel.  Get it as red as you can without changing the consistency of the icing.  It will intensify when dry.


7) Thoroughly mix in the color and put a little less than half of it in the piping bag.  Push down the icing toward the tip, twist the top of the bag, and secure with an elastic band.

8) Keep the icing in the tip of your piping bag from crusting by using the damp dish cloth you used to drape over the mixer.  

9) Add water, or a combination of almond extract and water, a teaspoon at a time, to what is left in the measuring cup until it is the proper consistency for flooding.  This means that when you drizzle the icing off the spatula back into the cup, it is fully absorbed by a count of 10.  I usually end up using between 2 and 3 teaspoons for about 1/2 cup of icing.  Add water slowly.  You can always add more.  Once it is added, you can't remove it.  Try not to add a lot of air as you stir in the water.

10) Put a piping bag, with no coupler and without cutting the tip, in a tall cup and fill with the flood consistency icing.

11) Twist the top of the bag and secure with an elastic band.

12) I highly recommend having a brush for cleaning tips and a dishwasher bag for tips, couplers, and elastic bands.

13) You are ready to decorate cookies!


Throwing a Cookie Decorating Party


1) Make a ton of sugar cookies.

2) Make some piping consistency and flood consistency Royal Icing.

3) Find all those cupcake sprinkles in the back of your pantry.  Don't forget toothpicks, paint brushes, tweezers, dragees, glitter trays, edible food pens, and scissors.

4) Find some friends that know how to make great snacks and drink wine.


5) Give them a quick lesson on outlining and flooding.  Then turn them loose.


6)  Admire your work.  Eat your mistakes.


Thursday, March 6, 2014

Favorite Sugar Cookies


This recipe was adapted from Sweetapolita.

Ingredients  (Always weigh the flour and sugar!)
  • 6 cups (750 g) all-purpose flour, sifted  
  • 1 teaspoon (8 g) salt
  • 2 cups (454 g)(4 sticks) salted butter, softened for about 20 minutes at room temperature (or microwaved VERY carefully)
  • 2 cups (400 g) sugar
  • 2 large eggs, cold
  • 1 teaspoon pure vanilla extract
  • 2 teaspoons almond extract
  • 1/4 teaspoon (1.25 mL) pure lemon extract

Half Batch (~25 cookies)
  • 3 cups (375 g) all-purpose flour, sifted  
  • 1/2 teaspoon (4 g) salt
  • 1 cup (227 g)(2 sticks) salted butter, softened for about 20 minutes at room temperature (or microwaved VERY carefully)
  • 1 cup (200 g) sugar
  • 1 large egg, cold
  • 1/2 teaspoon pure vanilla extract
  • 1 teaspoons almond extract
  • 1/8 teaspoon (.875 mL) pure lemon extract

Instructions
1) Measure all of your ingredients.  As you can see in the picture below, I was mistakenly using lemon juice instead of lemon extract.


2) Get things organized and make enough room in both your fridge and freezer for a cookie sheet.  Note the board that will be used to move the dough from fridge to freezer to counter top.  It is easiest if you have two.  They can be cutting boards or cookie sheets that you won't need for baking.  Also note the 1/4 inch square dowels.  They are available at craft stores and are the secret to getting an even thickness.


3) In large bowl, sift together flour and salt. Set aside.


4) In an electric mixer fitted with the paddle attachment, cream butter and sugar until fluffy and pale, about 5 minutes. Beat in eggs.


5) Add flour mixture and mix on low speed until thoroughly combined. Blend in vanilla, almond extract, and lemon extract.


6) Turn the dough out on to the counter top and mix in any flour that was at the bottom of the bowl.


7) Divide the dough in half and work with one half at a time.  Slightly dampen your counter top then put down a piece of parchment.  This will prevent the parchment from sliding.  Pat down the dough into a rectangular shape on the parchment.  Lay the square dowels on each side.  Cover with another sheet of parchment.


8) Roll the dough with your rolling pin until it is flush with the dowels. 


9) Slide the dough, still between the parchment sheets, onto one of your boards and put it in the fridge for 45 minutes.


10) Remove the dough from the fridge and slide it off the board and onto the counter top.  Remove the top piece of parchment.  Cut your cookies and place at least an inch apart on a parchment lined cookie tray.


11) If you want to make cookies on sticks, like these roses, Lay them on the cookie sheet like this so that you can fit more on one tray.


12) Place the cookie tray in freezer for 15 minutes.  Preheat your oven to 325° F during this time.


13) After 15 minutes in the freezer, put them directly in the oven and bake for 8-10 minutes, or until edges are just starting to turn golden brown.  The more golden brown, the crisper the cookie.  I have found most people like them less crisp so I take them out at the first sign of golden around the edges.


14) Cool on wire racks for 10 minutes, then gently remove cookies and place on wire racks to finish cooling.


Tips

Tip 1) It is important to only have one tray in the oven at a time.  This slows down the process, especially when this recipe makes about 50-60 cookies, but you can always make 1/2 the recipe if you are short on time.

Tip 2) When you fill a tray with cookies and there is uncut dough left, just put it back in the fridge to keep it firm.

Tip 3) As the dough warms up to room temperature you will see rough edges and the dough doesn't pull away from the cutter cleanly.  Smooth the edges with your finger, and use a corsage pin to clean up tight corners like in this picture.  Then pop the dough back in the fridge until it is firm enough to cut cleanly.

Tip 4) Since you will be needing a timer for the oven and for the freezer, it is best to have two timers.  I usually label them.  If the cookies are taking about 17 minutes to cook, sometimes I can cut a set of cookies and pop them in the freezer while another tray is cooking.  Then I only need one timer.

Tip 5) It may seem like a lot of work but this process gives you all the details from a nice cutter like on this moon cookie,  

and help you avoid disasters like this teddy bear.